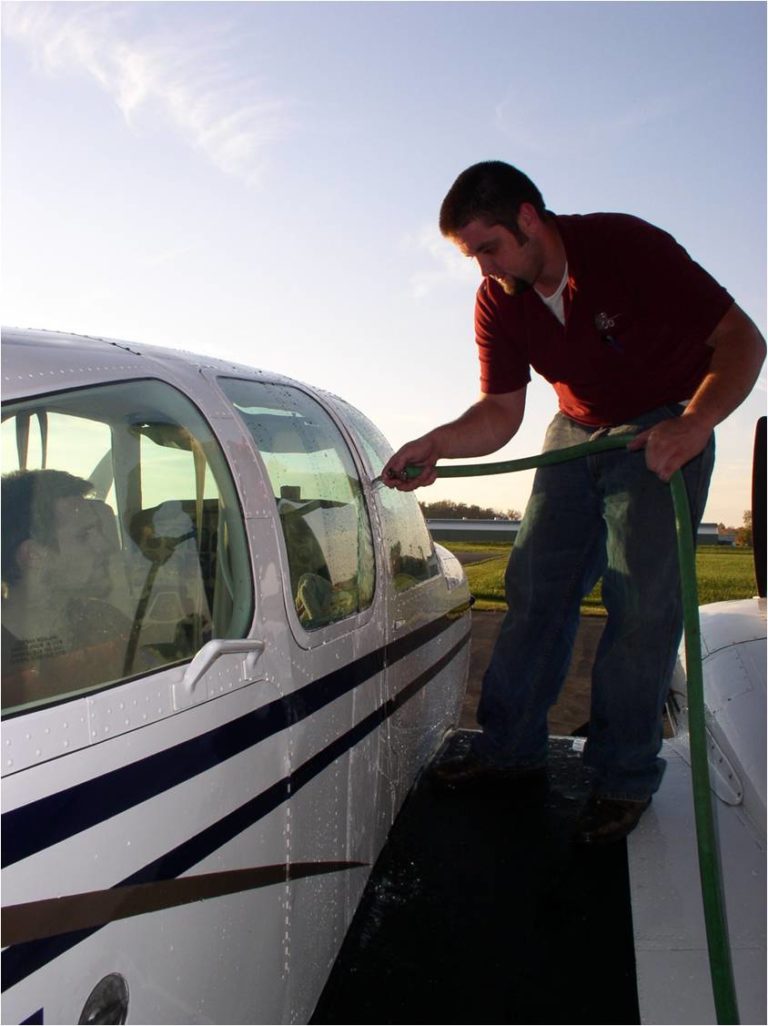
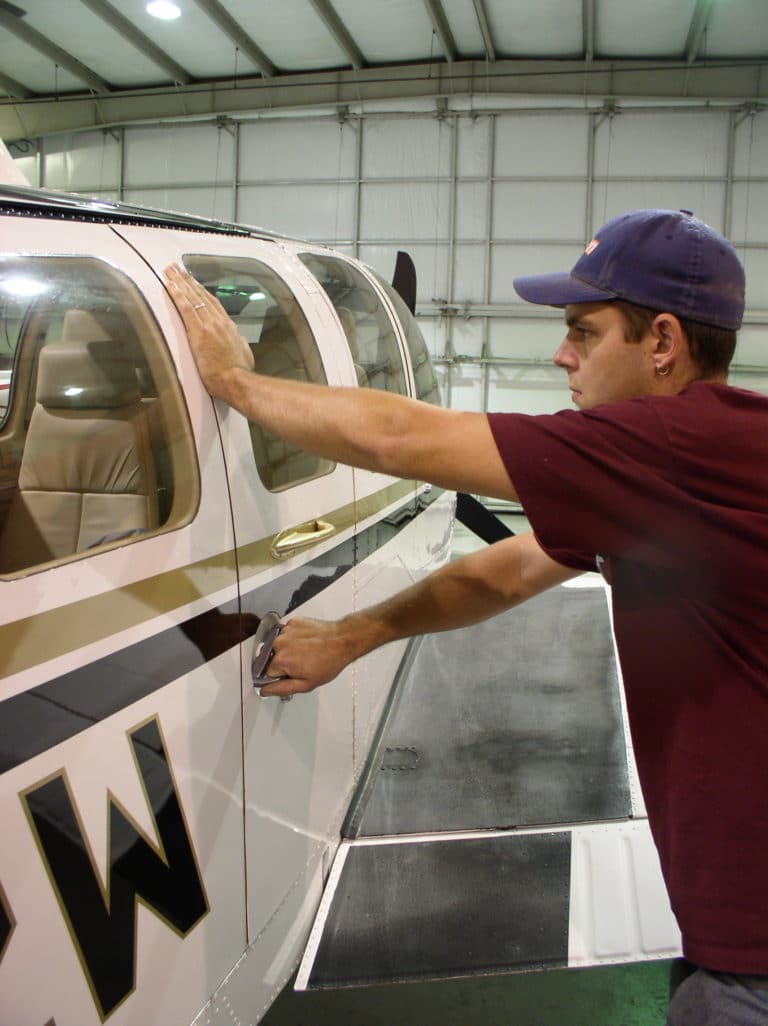
Last month we thoroughly explained the various glareshield options for Beech instrument panels. One final topic to cover in this panel business is painting. Like glareshields, a well-executed panel project can be ruined by a poorly done paint and placarding job, or the awkward use of wood grain.
Finishing instrument panels actually involves two separate tasks. The first is prepping, priming, and painting or powdercoating the bare metal panels. Second is the application of placarding. These two procedures are related in that the finishing process chosen for the instrument panel in many ways dictates the type of placarding used (more on that later).
Since aluminum is self-oxidizing, the metal must be thoroughly cleaned with scotchbrite and lacquer thinner, etched with aluma-prep, and alodined. Aircraft zinc chromate or automotive primer can then be applied to create a paint-ready surface. If woodgrain materials are being used, they can be bonded directly over the alodined aluminum.
Before describing how the various finishes are applied, we need to discuss advantages and disadvantages of these different systems. There are three basic systems used to paint instrument panels, and they all have their good points. After thorough discussion and careful consideration, we ask our customers to ultimately choose for themselves what system is best for them.
First is lacquer paint, probably the oldest system of the three. Properly done, lacquer finishes are durable, easily repaired or modified, and allow for an infinite range of colors. The key to lacquer’s superior workability lies in its chemistry. When initially applied, lacquer will dry very quickly. Also, lacquer is very solvent-sensitive, meaning that it will melt into a previously-applied lacquer surface, creating a very thorough bond when dry. This creates a totally monolithic coating, that allows for easy modification and repair of the finished panel in the future. Another advantage of the fast drying time is that there is very little dust contamination in the finished surface.
What’s the downside of lacquer? When dry, lacquer is prone to scratching and chipping, so caution needs to be taken when tightening instrument screws. If over-torqued, the lacquer will yield under the screws, creating chipping. The chips can easily by touched up, but there are two other finishing systems that perform better where scratching and chipping are concerned.
The second panel finishing system is using catalyzed polyurethane, basically the same stuff that is used on the outside of the your airplane. In the chipping and durability department, urethane is superior to lacquer. That said, urethane paints require eight to twenty-four hours to cure, are very susceptible to dust contamination when wet, and require extensive masking since the overspray will stick to everything. This makes painting a panel in place very difficult. Urethane finishes dry to a very high shine. Good for exterior finishes but bad for panels.
If a semi-gloss finish is desired, a flattening base can be added to the urethane finish. We’ve found that urethane coatings require a higher quantity of the flattening agents, but unfortunately that can degrade the hardness of the finish. It’s all a compromise.
Since urethane finishes cure chemically, there is a very limited time period during which they can be top-coated or touched-up. This can create some difficulties when it comes to the application of graphics or placarding. Also, repairing or touching up a urethane-finished panel can be more difficult since the new paint does not melt into the previously chemically cured coating.
It is important to know that the chemistry of catalyzed urethane paint is very toxic. Don’t even think of using this type of finish without all the required personal and environmental protection equipment. I have lost several friends over the past forty years to cancer as a result of their not believing those warnings on the labels.
Powdercoating is the third panel finishing system that is in common use today. This process involves elecrostatically spraying a fine powder on the prepared metal surface. The powdercoated metal is placed into an approximately 400° oven. The high heat melts the powder into a liquid that flows out to create a very smooth and high gloss surface. Once cured, it becomes a very hard and durable surface that is quite resistant to scratching and chipping. The down side of powdercoating lies in the fact that any future changes in the panel or placarding require complete stripping of the entire panel and repeating the powdercoating and placarding process. Unlike wet painting processes, powdercoating requires the use of an oven. Some people have had success with using household ovens. The smells associated with this process will definitely test the patience of your wife — you’ve been warned!
Before moving on to the various ways that graphics can be applied to these painted surfaces, I would like to make one very important suggestion. We like to build an instrument panel that is mounted to the airplane with structural machine screws and nut plates. This allows us to etch, alodine, paint and placard the panel outside of the airplane, giving the customer total freedom to choose the finish process of their choice.
One final note on panel finishes. Almost every panel we have painted, modified, or built from the ground up, will probably be modified or repaired at some point in the future. There is no ultimate panel design. It’s unrealistic to think that your panel will never have to change. With that in mind, I definitely think that it’s important to choose a finish system that can be easily changed. For my money, that’s lacquer. The panel in my 172 is twenty some years old and has been modified and partially re-finished and placarded several times. I don’t think even the most discriminating nit-picker could identify what parts have been re-finished or re-placarded. I do have a scratch caused by a careless technician that is a testimony to my laziness since it would take less than an hour to touch it up with a little lacquer and an air brush. No one’s perfect.
No panel painting discussion would be complete without discussing color. The human factors types have spent a lot of time and effort analyzing instrument panel color as it relates to accurately reading and interpreting complex instrument panels. All this effort has produced a few basic rules.
- Black is out. Since instrument faces are white graphics on black backgrounds, a black panel lacks boundary definition, making it seem to be a black panel seek to be a sea of numbers with little definition as what each island of information represents.
- Neutral colors. By finishing the panel in a medium beige or grey color, every instrument becomes visually identifiable as a more specific piece of information separated from an adjacent piece of information by a very visible area of contrasting color. Aesthetically, by being finished in a neutral color that complements the interior, the instrument panel becomes an integrated part of the total interior design package. Looks and works better. Win-win!
- Wood Grain: I believe that adding some wood grain finish can very much add some elegance and richness to the functional purpose of an instrument panel. I think this is especially true of an interior that has some wood accent. That said, I feel that an all wood panel can be a visual distraction. I believe that all that wood texture tends to compete with the complex instruments creating a distraction that pulls your eyes away from the task at hand — accurately reading the instruments.
- Surface texture: Three words will cover this subject. “Shine is bad.” Daylight or night-reflected light both compete with seeing the instruments. Enough said.
There are three ways to apply a wood finish to your panel. The first is the infamous heat-sensitive stick-on woodgrain vinyl sheet material used by Beech in the seventies. This is actually the same stuff that was used to apply wood to the sides of 60’s and 70’s station wagons – we’ve all seen it. I think this stuff imparts about the same quality enhancement to an instrument panel as hanging a cheap felt painting in the Louvre.
A far more durable and quality enhancing method of adding a wood finish to an instrument panel is to bond a horizontal grade (thicker) laminate to the face of the metal panel. Then cutting all the instrument panel holes and edge trimming with a small router. Fast, clean, attractive, and durable (I love adjectives!). All the instrument mounting screw holes can be drilled from behind the panel and countersunk from the front to get very clean holes. Put the whole thing together with black brass countersunk instrument screws and it’s about as good as it gets.
The final woodgrain technique is to make a .025” 2024T3 aluminum mask ,complete with every instrument and instrument mounting hole for the area of the panel to be wood grained. Then bond real .025” thick hardwood veneer to the face of the aluminum mask. Then six coats of a clear catalyzed epoxy coating is applied. Next, the graphics are applied and then six more coats of clear coat. Once finished, the masks are bonded to the panel with a contact cement. When all of the instruments are mounted and the panel assembled, you have a highly finished, durable, real wood panel accent that truly complements the overall panel design.
That about covers the panel finishing options. Next it’s on to placarding techniques. Some of the various placarding options I will discuss are both good for placarding newly painted panels as well as re-placarding part of an existing panel.
Here at Air Mod, we’ve found three good ways to placard or label panels. Each system has advantages and limitations. All three systems allow for the creation of very crisp, legible and durable graphics. By having a large selection of type faces and font sizes we are able to use larger and bolder type, allowing us more senior pilots to actually read the placards at night. Little things that can mean a lot.
The first choice one must make is, depending on the background color and texture, should the placards be applied in black or white? If we are not sure which is best we simply placard a test piece in both and make our choice.
The easiest to use, most versatile, least expensive, changeable and durable graphics application system is the rub-off dry-transfer press-type method. These rub-off letters can be applied to both painted and laminated surfaces and then coated with clear lacquer to make them permanent. These sheets of letters used to be available at art supply stores in countless fonts, styles, sizes and colors. No expensive equipment to buy, a sheet of press type, a burnishing tool, some clear lacquer, and you’re in business! The problem is that, with the onset of the computer and digital age, these rub-off letters are becoming increasing difficult to obtain.
Here’s the best part of this system: If the need arises in the future to change a placard, all you need to do is carefully sand through the clearcoat and the graphics using 400 grit sandpaper, stopping at the base coat. Apply the new lettering and airbrush two or three coats of clear protective lacquer; no one will be able to tell that the placard was changed.
In some situations where the same placard is to be used repeatedly, we will employ a silkscreen system. We either press-type or computer-generate an original placard, and send the image to a photo screen company who will create a framed silkscreen of the placard. We use a rubber brayer and epoxy ink to transfer the placard to the finish panel surface. This process can be used on any type of panel finish as long as the surface is almost flat. Silk screen graphics have long been used by manufacturers for repetitive production work. Considering the cost of having the screen made, set up, and clean up time, we feel that silkscreening has rather limited application in custom panel placarding.
The last placarding system to discuss is engraving. Two basic methods are in use today. The first is the old router type where a fine cutting bit is mounted into a computer controlled router tool. This tool can cut very clean graphics into either a painted surface or a bi-color plastic sheet that can be bonded to the instrument panel surface. Many shops will first paint the panel with a coat of either white or black paint than a second coat of the finish color. The router is then set to cut at a very precise depth so as to cut through the top finish coat but not through the white or black first coat and, viola! a crisp and legible image is created.
Moving into the 21st century, we come to the crème de la crème of graphics systems: The digitally controlled computer driven laser engraver. This bad boy works much the same as the old router system mentioned above. However, the precision cutting is done by a laser, and can be used on almost any surface with a great deal of control. The final product is an extremely clean image. Guess which system costs the most? You get what you pay for.
Cost isn’t the only disadvantage of the engraving-based systems. The other is permanence. The only way to make a change is strip and re-finish the panel. It’s all about compromise. For those doing this work themselves, press type makes the most sense (if you can find it). I like silkscreening or press type because it’s changeable. There is so much talk lately about change, and when it comes to light airplanes most of it is happening in the panel.
Well, that’s it for building custom instrument panels. I hope all this techno-speak will help you all with your panel decisions. It’s all about informed choices. Fly safe!