Have you ever had something in the back of your head that you know is well worth doing, but you just never get around to it? Then an event occurs that thrusts you into action. Well, recently something did happen that prompted this idea of mine to share the things I’ve learned over the past 50 years of flying and fixing airplanes. More on the event later…
First, I would like to explain a tradition and thus the motive behind this new series of short articles I’ve decided to call Wing Tips. Tips to help us all safely and cost-effectively fly and maintain our airplanes. Little tidbits describing things that you can do yourself and others that should be done by licensed aviation technicians.
The basis for this series started 50 years ago when a 15 year old kid named Dennis rode a 50cc Allstate moped to the south line at Lunken Airport, and met the first of a still expanding list of great mentors. Folks willing to show a young kid the ropes, share their knowledge and give support. Things that go beyond two dimensions of book learning. Stuff like lightly using your feet to hold another degree of heading while riding a localizer signal, or how to heat and bend an open end wrench to be able to remove a vacuum pump on an O320 Lycoming engine without having to remove a magneto, or where and how to look for a pesky intermittent short in a Cessna 206 left wing nav light wire. You know what I mean, the stuff old guys know.
I can vividly recall the day a few years later when I was working for a small scheduled airline called Midwest Airlines. We had a fleet of Lockheed 10s (of Amelia Earhart fame). The lead mechanic was a patient and benevolent guy named Jim Severs. Also working in our group was a young guy just out of school who thought he knew everything and had an FAA-issued A&P license to prove it. Jim would usually let this guy struggle, while seeming to pay extra attention to my needs as a developing aircraft technician. One day I finally asked Jim why he took so much time to show me things. His answer has stuck to the core of my being since the moment he said, “Well, Dennis, I’m one of the old guys now and it’s our job to share what we know with young guys. You have the spirit to do this right, and our junior licensed A&P over there only wants to get it done and go home.”
So it is in the spirit and purpose of Jim’s message that I want to share my gift with you (I’m admitting I’m an old guy now). There are many Beech owners who have the spark and passion to keep these beautiful airplanes in the air. I think of us as caretakers who will one day pass these wonderful machines on to the next generation of aviators.
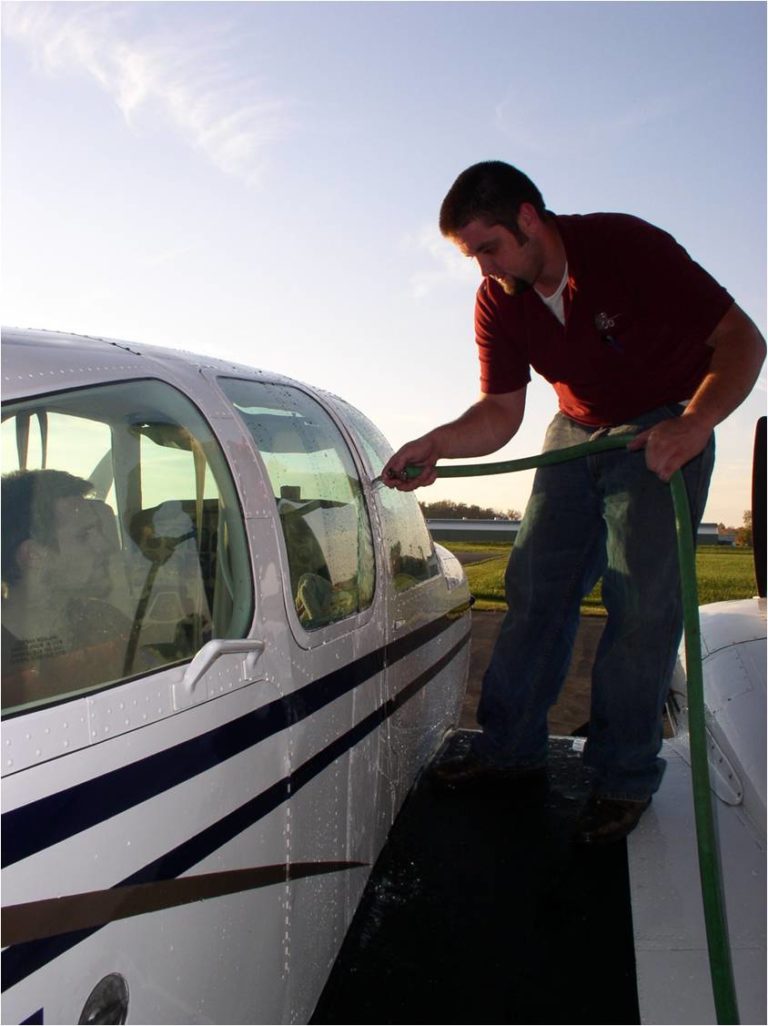
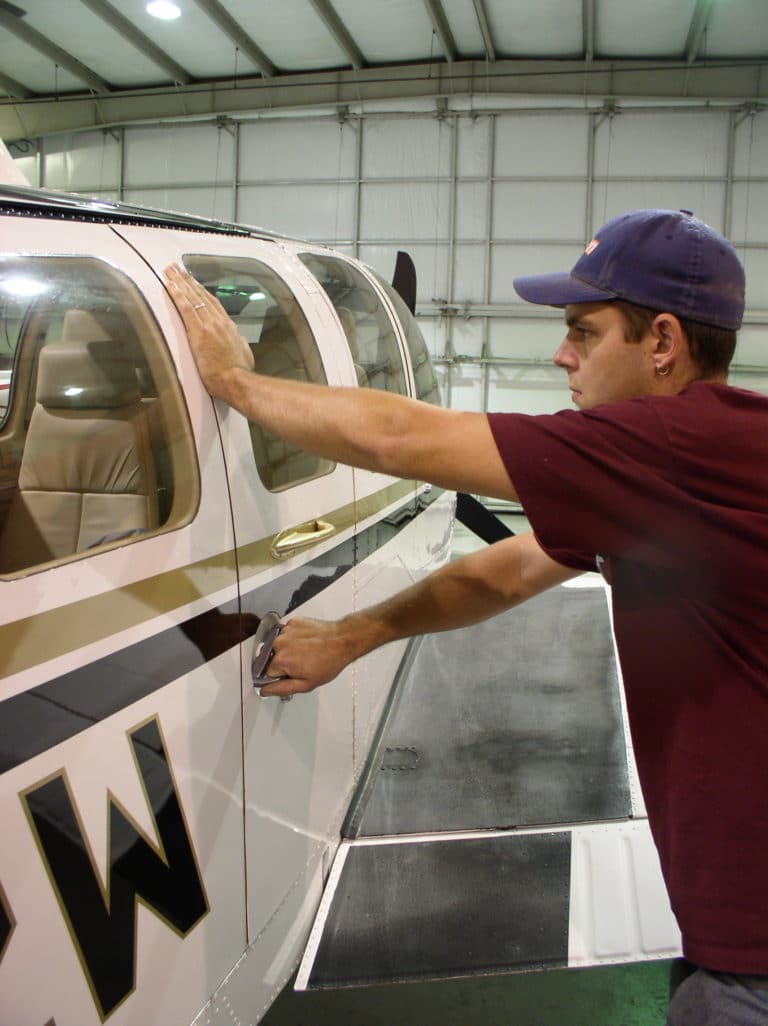
Forty years of stripping out old interiors and instrument panels has been eye-opening in that we get to see things no one looks at. The scope of our work has taken us into every nook and cranny in these airplanes, and exposed us to the many disciplines involved in modifying and maintaining these machines. Using this background, I will attempt to identify frequently seen problems that are often easily managed under the guidelines of preventative, owner-performed maintenance. Things you can do yourself, thanks to Federal Aviation Regulation (FAR) part 43, section 43.3, paragraph G. With the help of photographs, we’ll walk though fixes, and identify parts and materials sources.
Many of the discussions will involve recognizing issues that must be corrected by a professional. Some will involve topics of a serious safety-of-flight nature. Others will make you shake your head, asking yourself “what were they thinking?” And some subjects will be as low-tech as ways to properly clean and protect an aging airplane. Great Saturday afternoon airport projects!
So it’s time for the ‘to tell the truth’ part of this first Wing Tips article. One of the most important and least respected instruments we have on board is the OAT gauge. Unless flying in moisture in the northern latitudes or at high altitude anywhere else, about the only thing most pilots use the OAT for is to calculate take-off distance and true airspeed where 5° of error isn’t a show-stopper. Flying in clouds or precipitation at near freezing temperatures, however, will cause you to look closely and often at your OAT. And for those who have electronic OATs, there is something potentially serious involving system installation that needs to be checked out, specifically the location of the temperature probe, that little silver 1” long ¼” diameter ditty that senses outside air temperature.
I’ve seen these probes mounted in almost every location imaginable on the airframe, all too often in a very bad place. For these systems to be accurate, the probe must be mounted away from any heat source. That means not on the boot cowl between the aft edge of the cowling and the door post. Warm air leaking out of the seam where the cowl meets the side skin of the forward fuselage can cause false high temperature readings, sometimes high enough to delude a pilot into thinking that the moisture he is flying in will not stick to the airplane. Several times in my career, I’ve seen these OAT probes mounted on the belly right behind the very place where the hot engine-cooling air leaves the cowling. Not good.
As many of you know, we produce the Precise-Flow replacement wingroot air vents for Cessnas that are sold by Sporty’s. In order to obtain the STC for these vents, we had to test for an optimum location for the OAT. In the process of flight testing an airplane with four OATs installed, some enlightening results were discovered. I flew a 172 with an OAT in the original juice can vent, one mounted in a now better sealing Precise Flow air vent, one mounted through the right upper side of the windshield just below and aft of the right wing, and an electronic STC’d OAT with probes mounted through the boot cowl about 10” aft of the cowling seam.
In various flying conditions, there was as much as a 10° disparity among the four OATs, with the highest reading being the electronic one with the probe mounted in the boot cowl area. Intuition told me to move the electronic OAT probe from the boot cowl to an inspection panel on the bottom side of the right wing, and viola! With the two wingroot air vents open, all readings were within 2° of one other.
On Bonanzas, a convenient and appropriate location for the OAT probe is either in an inspection panel under the wing behind the landing gear well or on the wing skin adjacent to an inspection panel. There are several pass-throughs and runs to get the wire to the probe in this area. For Beech twins, look further out on the wing away from engine heat for a suitable inspection panel area.
As for the event that motivated me to start this series of articles: This past winter, a customer of mine had a serious accident in which he and two others were injured. Based on his comments to me afterwards, it is possible that his boot-cowl-mounted OAT was giving him an erroneous reading by as much as +10°. I was immediately jolted into thinking I should have shared much sooner with my fellow pilots the many observations and experiences I’ve had over the past four decades. (Needless to say, there is more to come.)
Get the message. If your OAT probe is located in a suspect place, have your avionics technician move it to the underside of a wing, the further out the better. And if you’re having a new digital electronic OAT installed, ask the shop where they plan to install the probe. I would also leave in place the existing analog OAT, and fly with both. It would be reassuring to compare the two to see if they are both ‘telling the truth’.
Until next time!